Saturday, January 14, 2017

Hull Paint four

 Since the weather cooperated for a change, we were able to get everything on our original list done.  We had some bad spots were the stainless strip that protects the teak rub-rail and gunnel had been hit hard by a dock so we made the decision to salvage what we could and buy new as needed.  We cleaned and polished the good pieces then designed a plan for best use of each length.  There was a lot of cutting and modification but the end result was worth it.  With still some time on our one month, we got a good start on the varnish work on our teak.  We only finished the caprail and gunnel but that is a significant amount of the total.
That is Shiny!!

Look Ma, I see myself!
Installing the rub rail stainless

All the pieces had to be laid out in order of application

Sanding the teak gunnels for varnish

More taping, of course!.
One of eight coats of varnish
Nice, shiny and folding prop
Prop in full extension.

Hull Paint 3

Prior to our ownership someone had used the very wrong type of caulk to seal the wood along the teak gunnels.  We thought we had managed to dig it all out and properly prepare the surface but sadly there were still a few spots where the paint wouldn't adhere to the surface.  It was heartbreaking to watch as our beautiful paint bubbled up.  Total Yuck!
Repairing the spots where the paint didn't stick

Small spots but lots of work still.
One highlight of the job was our new name and hailing port decal.  I designed it and had it made locally.  Nerve wracking to slowly peel off the backing and get it perfectly placed but very happy with the results.
Old Graphics
Getting everything placed just right
New graphics


Hull Paint- two

 More prep, more tape more paint.
The dirty reality of boat work

We didn't spare any expense with our safety equipment.  We need all the brain cells we can get.
You know just how long 42 feet is when you have to work every square inch of it.
We made several scaffolds and put heavy planks on them so he could paint each side in one continuous motion.  This was the first coat of primer going on.

Paint is  looking good.


Painting from stem to stern
Add caption

Side 2 done.
Transom is done

Accent and boot stripes going on.

Painting the hull- One

We had the boat hauled out and paid for a month of yard time to make sure and not push ourselves into cutting any corners.  We had an ambitious list of goals from painting to thru-hull repairs and if we got lucky, stainless rub-rail repairs.  We could not have been more pleased with Vito and his crew at the Shalimar Yacht Basin.  They gave us all the help with space and they did a great job repairing our poor blistered bottom and applying the new coats of anti-fouling bottom paint.  We also installed David's dream folding prop. A major upgrade for Blue Moon and worth every hour of labor to pay for it.  As always, each step in the prep work was slow, tedious and hard work.  We did pretty good for 2 old folks!
Lots of filling and fairing was needed.

Lots of blisters everywhere.

Blisters are nasty and sadly expensive  to repair.  They are not uncommon in "Classic Plastic" boats that had their fiberglass hulls layed up before the techniques were perfected.
Being an older boat, she had her share of cracks and crazing from age.  We had painted the hull but still had a lot of repairs to make in the accent stripe area.

Cracks had to be ground out to their full extent, filled and sanded smoth.

Lots of patient work required to make her as pretty as we could get her.

Planning for the tropics

I don't mind the heat but I do hate for the sun to beat down and heat things up.  I had seen a picture of  a boom shade and had a first effort at one left by the previous owners so that was my post surgery project that I could work on a bit at a time at home.  It is free standing with attach points on the lifelines.  I used light weight backpacking tent poles and sewed in pockets to run them through.  The most expensive part of the project were the pocket pieces for the end of the poles.  Now that I see how they were made I can make any future ones myself.  It really cuts down on the amount of heat coming in our forward companionway.  It is a bit of an effort to set up but will be worth it when anchored for a day or more.
The boom tent from the front

Side view of boom shade
Our port light shades were getting grubby and the snaps weren't working so I took them home for rehab.

All cleaned up and back in place.  I bought new material and made the strips with new snaps to hold the folded shades in place.

Nonskid paint

 Once we had the deck and cockpit painted we were able to finally get out of Paula and Bill's hair and take her back to her home slip.  We did miss the gracious way they made us feel welcome and will always be appreciative of their generosity.  We could not have accomplished what we did without their help.
The nonskid we chose is not so much a rough texture as it is a sticky one, a better choice if you happen to like going barefoot like I do.  Getting the color right was a bit tricky.  We wanted something to contrast with the Oyster White but not be too dark and absorb heat.  We chose to mix white and grey to what we thought was the perfect color.  After another round of taping and surface cleaning/prep we rolled on our doghouse deck first.  A few days later we had a good weather window and mixed a new batch and painted the side decks.  When we looked closely at the two together, we realized it was a slightly different color.  It had been mixed with an 8-1 ratio instead of the original 10-1.  Turns out the second color was really the perfect one and after some groans, we repainted the the original surface then finished out the job with the cockpit.  We are very happy with the results.
We used special tape for the tight radii.

We should have bought stock in blue tape!

No spot spared with tape.
Lots of little bits of white really set an area off.
Nonskid in the cockpit
The contrast is just what we wanted.

Painting the Decks, Doghouse and Cockpit

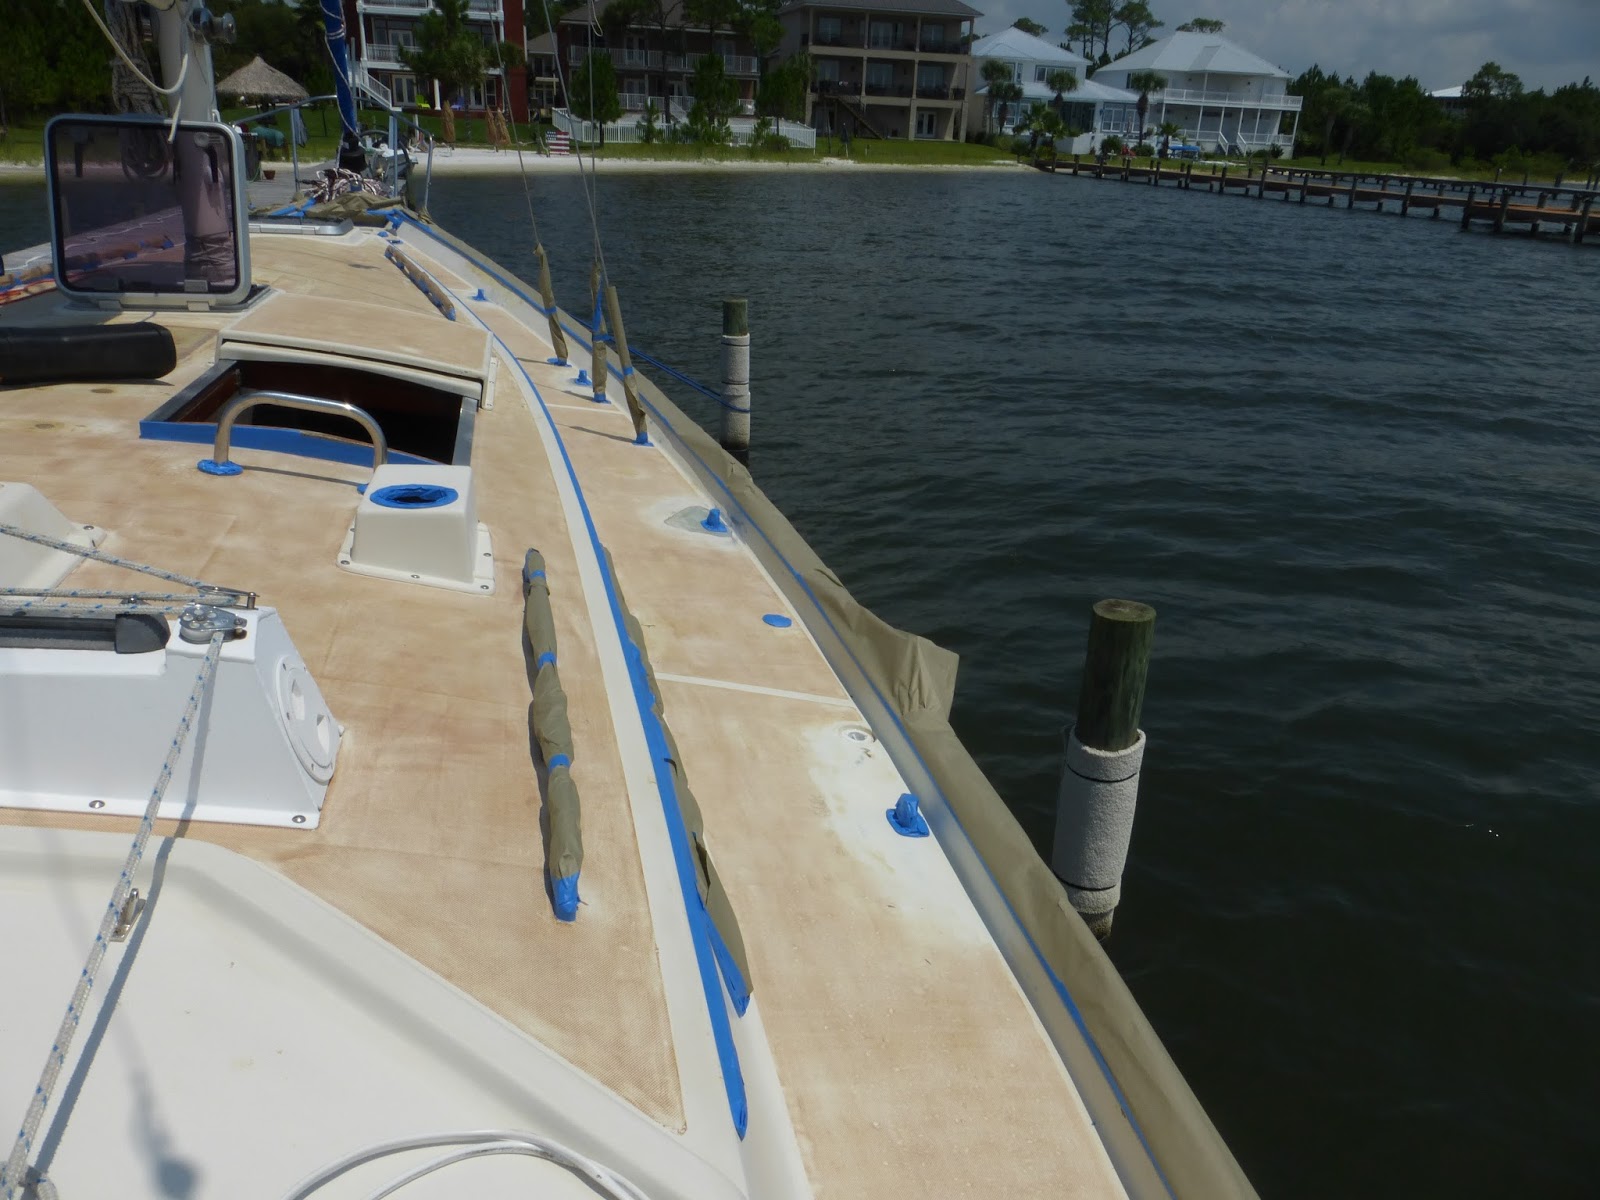
The boat seems small in the water but HUGE when you have to scrub, degrease, sand and do several more levels of prep to be able to paint.  It is such a big job you have to concentrate on that one little step and try not to think about the next 1,000.  Definitely not a project for the faint of heart!  We had hoped to not impose on Paula and Bill more than a week, 10 days max.  Of course, the weather laughed at that notion and occasionally washed away our efforts for the day.  It's tough to be philosophical when your tired but we managed.  Also, the primer and paint has to have a window of near perfect temperature, dew point spread and no moisture.  We spent a lot of hours looking at the hour-by-hour forecast to decide what, if anything, we could do that day.  On more than one occasion we pushed the envelope and lost so we got very good at putting tape and paper on. In the time frame, David turned 60 and our daughter, Martha and her beau Dylan came to help him celebrate.  Turned out to be a perfect day so we spent it taping and then celebrating.  After so many hours of tedious and agonizing work, when you first see the paint going on, it is magical.  We painted the boat in sections to better accommodate the gear handling required and not rush any section.  While it seems like more of the surfaces are nonskid, there is still a lot of white.
Every thing you don't want painted has to be protected with paper and tape.
All port lights were covered.  I almost like the look of the blue.
First of 3 coats of primer.  We had to sand and prep between the primer and final paint.


Dressed to Paint.
My job to was to keep the hose from touching any wet spots and keeping an eye on thin spots in the paint by looking at the surface from a lot of angles.
The cockpit was tough to get out of once the paint was on the seat tops.  Good thing he has long legs!

The stern was a real challenge to keep your feet from touching wet paint or falling into the water.
The fore deck had a lot of little surfaces to paint around the anchor locker.
Cockpit looking so much better.
Final coats of paint going on.
We were able to paint all the removable pieces at home.  Our neighbors wonder what crazy thing we're up to now.

Back Again


It has been a long time since my last boating blog entry but the next several posts will give you an idea of what has kept us preoccupied.  Since returning from our wonderful visit in Australia we worked out businesses to completion then started in earnest in making Blue Moon the boat we envisioned when we bought her.  She is a good solid boat with many nice upgrades.  With the type of cruising we hope to do, we wanted a bit more strength in some critical areas and we wanted her to look her best in visiting ports.  I'll start in the most logical spot, at the beginning of our efforts in May.

The stanchions are a key to safety,especially in seas.  They hold the lifelines that can keep you from falling overboard in a sudden roll.  David pulled all the bases off, added a reinforcing layer of fiberglass and thick stainless backing plates.  They are now quite solid which is reassuring in case you get thrown against one in a storm.  At the same time, he cut away a soft spot in the deck, replaced the core and repaired the deck skin.  Those few words seem simple but it took a solid month in the sometimes brutal heat.  He did a magnificent job and the  deck no longer has any give.  On a positive note, we had assumed the sponginess was due to a compromised deck core but there was no sign of water intrusion or rot.  The best guess of our expert resources was "tired fiberglass".  I wasn't much help during this phase as I had sinus surgery that really limited my ability and energy.  I've tried to make up for that since.
This is one of the 10 bases that were reworked and beefed up.  At the same time, he repaired a lot of dings and divots in the deck.
You can see that it was a very large patch.

The patch all smoothed out.
One of the projects was to put on new nonskid.  To make this right, he filled all the old nonskid and sanded it smooth.  That is the red colored area.  As the name implies, it is a surface finish that keeps you from skidding around a wet deck.
 
We have wonderful friends who allowed us to bring the boat to their dock for the next phase of renewal. All  the dings and dents of a long life were filled and faired.